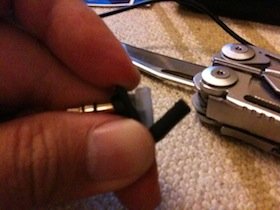
Connection problem on the plug end of the cord causes only one side of the monitors to be audible.
Ultimate Ears in-ear monitors are by far some of the best I have tried. With sounds that are full and rich, they offer great soundstaging and passive isolation. You just have to choose the right one for the job.
I have two for use, depending on the music that I am listening to – the UE super.fi 3 studio for solo instrumental works and classical music, and UE triple.fi 10 pro for jazz and vocals. These are devices truly for the discerning musician and listener.
Advertisement
As good as they may be as singly the most crucial hardware between your iPod and your ears, the problem with these in-ear monitors are their rather fragile cables.
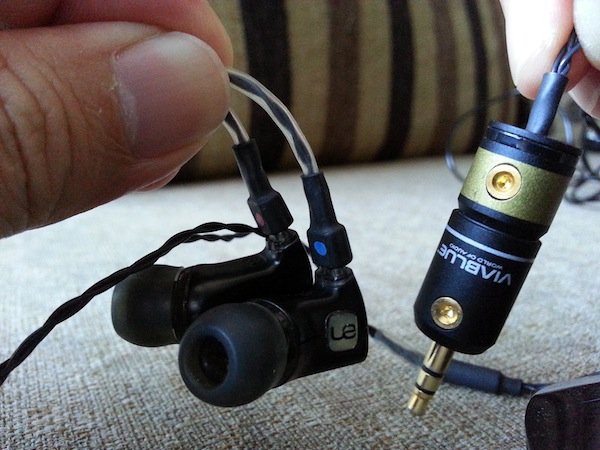
Some blame the cable problem at the monitor end, citing the flexible over-the-ear loop area as the main cause. In my case with the super.fi 3 studio, the cable at the 3.5 mm plug end had frayed within less than 2 years of moderate gentle use.
While this may sound disappointing to UE fans, the good news is replacement cables are not difficult to source, and replacing them is a fairly easy process.
I will walk through the steps below, showing how the cable cord to the super.fi 3 studio can be replaced. Read on.
Get It on eBay
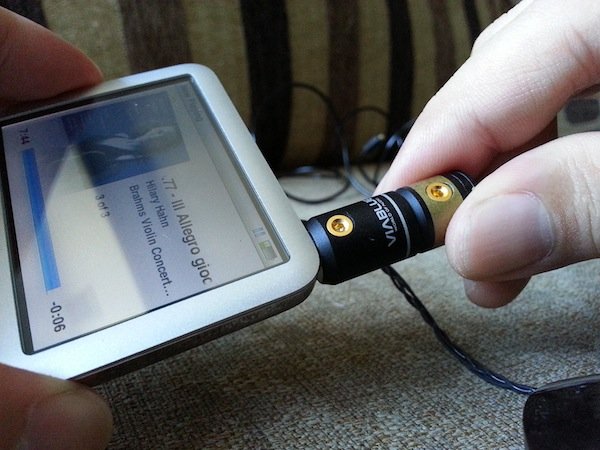
Sourcing and Replacing the Cable
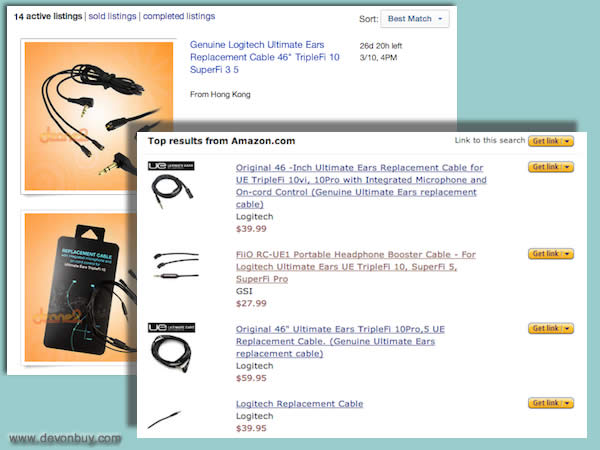
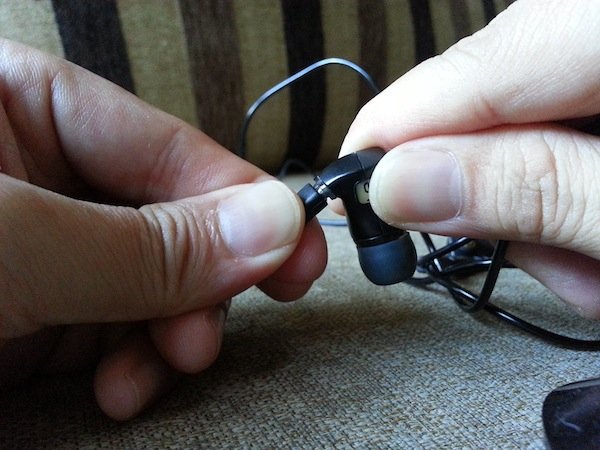
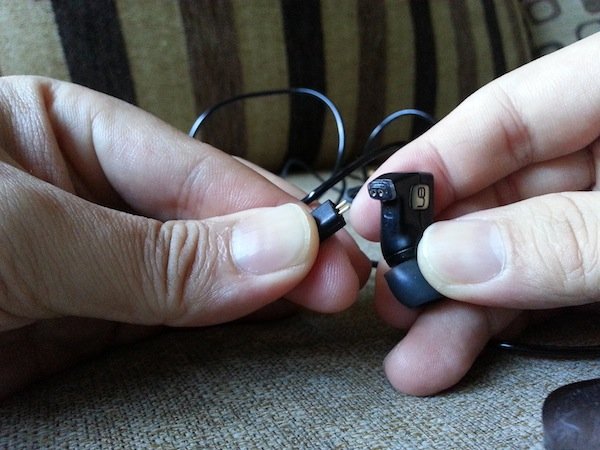
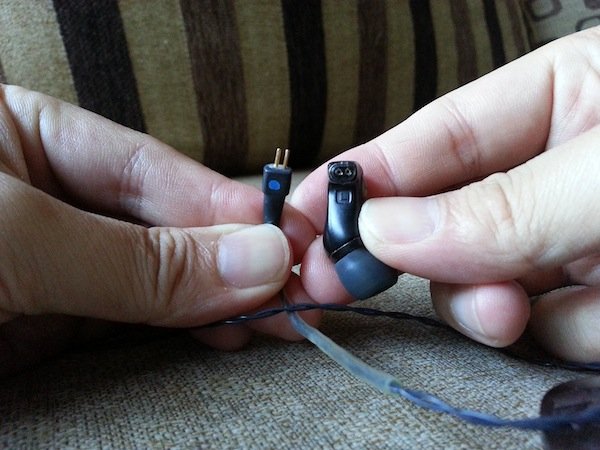
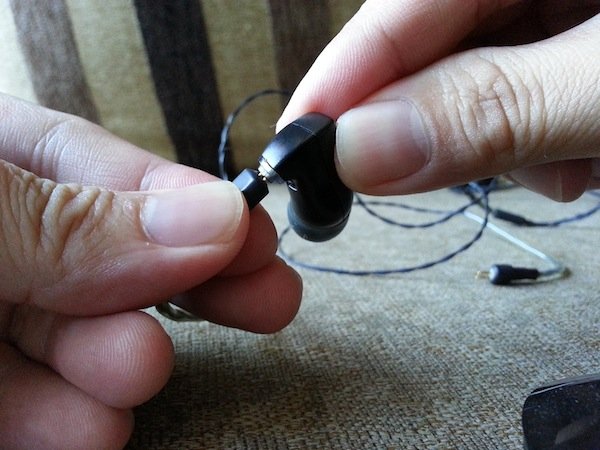
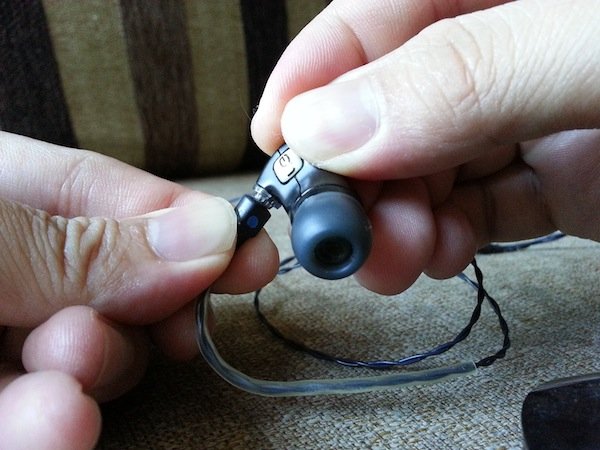
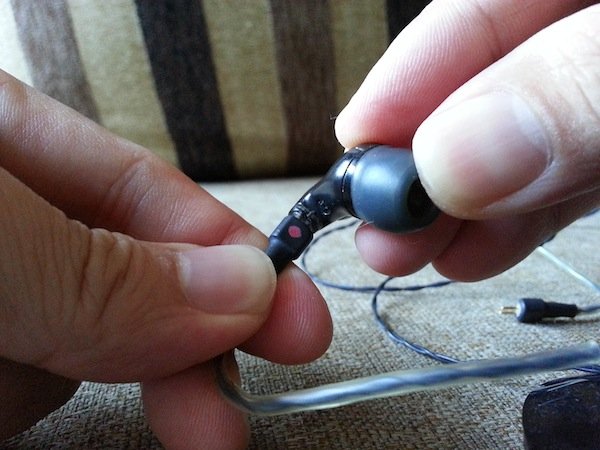
1. The first step is to source for a suitable replacement. New cables are available as stock replacement or audiophile upgrade, depending on how far you want to go. The audiophile-quality upgrade cable in today’s article costs USD75, which I bought in 2009 in Singapore. Click on the above photo to go to a selection of replacement cables on Amazon.com. A few options are provided at the bottom of this page.2. Once you have acquired your replacement, we are ready to begin work on the earpiece. Take one side of the monitors and gently pull the cable off from the earpiece. The connection may be a little tight, but requires only a solid grip on both ends with a firm tug. CAUTION: I know it’s tempting but DO NOT try and twist the connection loose as you risk breaking the rigid copper cables within. See the next photo to get an idea of how the two rigid copper wires look like.3. With the cable pulled off the earpiece, you get a better view of how the connection looks like. There are 2 holes on the earpiece to which 2 rigid copper wires on the cable go into.4. Get the replacement cable and study the connection on the earpiece end. Some cables indicate left and right sides by L and R. In the case of this high-end audiophile upgrade cable, left and right are indicated by blue and red dots. Following the manufacturer’s instructions, the dots should be facing in the same direction as the earpiece port or silicone buds, and is installed as such. In the photo above, the blue dot tallied with the L on the earpiece.5. Push the rigid copper wires all the way into the earpiece, making sure none of the copper wires can be seen, as shown in the next photo, not like the above photo.6. An example of the rigid copper wires pushed all the way into the earpiece, as described in Step 5 above.7. Repeat the same for the right side. Just to reiterate, make sure the coloured dot or any guide line on your cable is facing the correct direction. As shown, the red dot faces in the direction of the silicone bud. Make sure to push in firmly all the way.8. There you go, both monitors fully connected with the replacement cable properly installed.9. Plug right in and enjoy your in-ear monitors on new upgraded cables. Be sure to allow the cables to run in for about 80 hours of listening before judging whether the cables are any good!
Ultimate Ear Cable Replacement Options
Below are other Ultimate Ears cable replacement options on Amazon.com. Just click on the boxes below. Be certain to check that you are buying the correct type for your model, and read through the reviews to find out what others think about it.